.webp) moregameh5.com
moregameh5.comMaster Rematch: The Ultimate Tips & Guides to Dominate the Pitch

Master Rematch: The Ultimate Tips & Guides to Dominate the Pitch
The competitive sports arcade arena has an exhilarating title: Rematch. Blending the high-octane physical momentum of modern arcade games with fast-paced street football rules, Rematch demands quick reflexes, strategic positioning, and seamless teamwork. Every match drops players onto a walled pitch where the ball rarely stays still and standard sports tactics are continuously re-engineered through skill moves, wall passes, and dynamic rotations. Whether you are stepping onto the pitch for the very first time or refining your playstyle to dominate high-rank lobbies, learning the nuances of this game takes deliberate practice. This comprehensive tips and guides walkthrough breaks down every stage of a match—from pre-game controller setups to advanced end-game mind games—equipping you with the strategies needed to control the field and secure every victory.
Pre-Match Setup: Controller Calibration, Camera FOV, and Audio Cues
Success on the pitch begins in the settings menu long before the referee blows the opening whistle. While keyboard and mouse controls are functional, playing Rematch with a controller provides far greater 360-degree analog precision for movement, directional passing, and curve shots. Navigate to your controller settings and map your sprint, defensive stance, and passing buttons to triggers and bumpers that allow you to keep both thumbs on the analog sticks at all times.
Camera configuration is another critical setting that directly impacts your spatial awareness. Because Rematch uses a third-person camera perspective rather than a traditional top-down broadcast view, your field of view (FOV) dictates how much of the field you can monitor simultaneously. Increase your FOV slider to the maximum setting (90 degrees) and boost your camera horizontal sensitivity. This wider perspective allows you to spot open teammates on opposite flanks, track off-ball runs from defenders, and quickly check your surroundings without losing momentum.
Finally, turn on visual connection indicators and fine-tune your spatial audio settings. Hearing the sound of an opponent’s footsteps or a sudden ball strike behind your character gives you split-second audio cues to dodge an incoming slide tackle or jump to intercept a pass.
Optimal Controller & System Configuration
- Control Device: PC/Console Gamepad over Keyboard/Mouse for smoother analog movement.
- Field of View (FOV): Set to 90 (Max) to maximize perimeter awareness.
- Camera Sensitivity: Set high enough to execute quick 180-degree checks toward your goal.
- Mini-Map Overlay: Keep enabled at all times to track off-screen player positions.
Essential Settings Calibration
- Assign Sprint to Right Trigger (RT/R2) and Defensive Stance to Left Trigger (LT/L2).
- Map Ball Call / Quick Chat commands to accessible D-pad or bumper buttons.
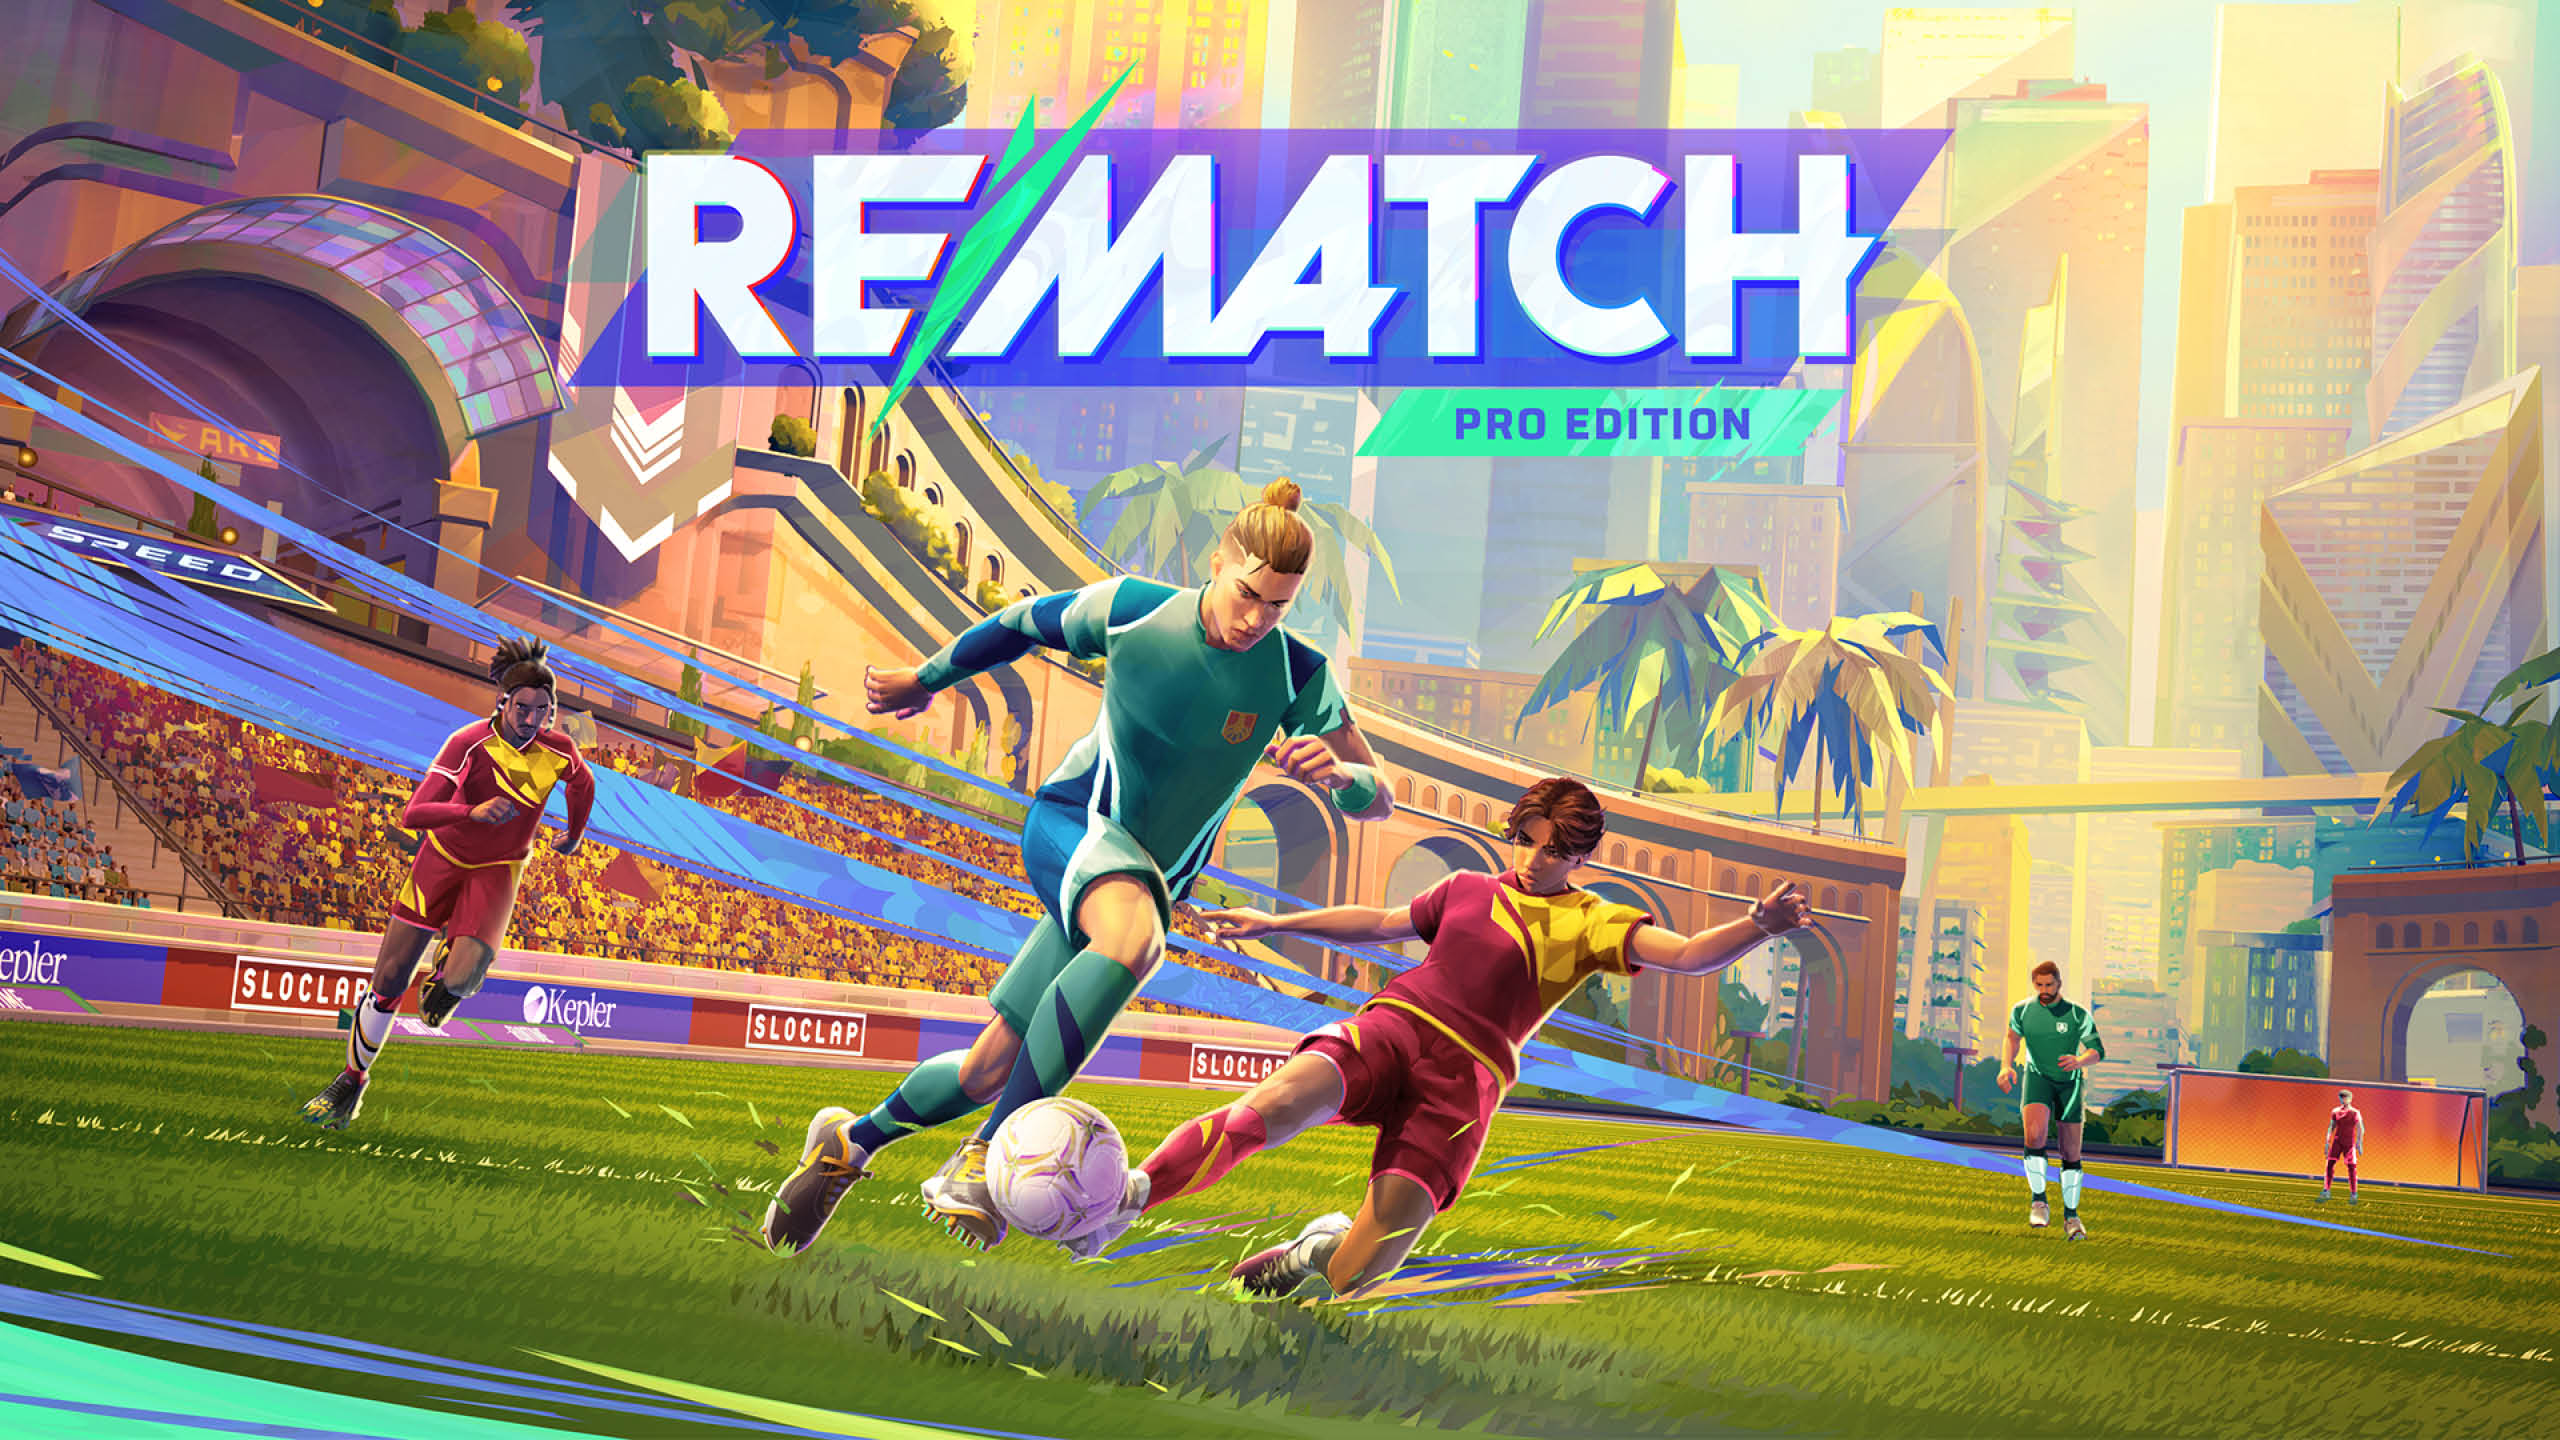
Mastering Basic Movement: Stamina Management, Trapping, and Momentum
Once you hit the pitch, fluid movement and ball control form the bedrock of your gameplay. Beginners often make the mistake of holding down the sprint button continuously, which rapidly drains your stamina bar. Low stamina significantly reduces your top speed, leaves you vulnerable to defensive pressure, and delays your recovery if you get knocked down by a tackle. Use standard walking speeds to navigate open space, reserving sprint bursts for explosive acceleration when beating a marker or tracking back on defense.
Receiving the ball smoothly prevents sudden turnovers in your defensive third. Instead of letting a high-speed pass bounce off your feet toward an opponent, master the trap mechanic. Combining your defensive stance button (Left Trigger) with a light tap of the control button allows your character to instantly dead-stop the ball right at their feet. This eliminates loose touches and prepares you to immediately execute your next pass or shot.
Understanding character weight and momentum is equally vital. Changing directions at full speed creates a brief deceleration penalty. Incorporate "stop-and-go" tempo variations—sprinting forward, pausing briefly to bait an opponent into overcommitting, then bursting into open space—to break free from aggressive man-marking.
Fundamental Movement Controls
- Standard Run: Move left stick without holding sprint to conserve stamina.
- Explosive Burst: Tap sprint twice for a short pace surge into open turf.
- Ball Trapping: Hold LT/L2 + tap Pass button to catch and stop incoming passes instantly.
Movement Precision Checklist
- Practice changing directions without sprinting to keep your turning radius tight.
- Monitor your stamina gauge at the bottom of the screen before committing to long runs.
Fundamental Passing Mechanics: Ground Distribution, Lobbed Taps, and Angles
In Rematch, passing is not an automated lock-on mechanic; it requires manual directional aiming using your movement stick. To build a fluid attacking phase, learn the difference between standard short passes, driven ground passes, and lobbed passes. Standard ground taps work best for short-distance triangle passing sequences, while driven passes pierce tight midfield blocks to reach isolated attackers.
When opposition defenders close down passing channels on the ground, utilize Lob Taps (RB/R1 + Pass). A lobbed pass lifts the ball over an outstretched leg, allowing your target teammate to receive the ball smoothly via a chest trap or head it downfield. Always pass into future space rather than directly at a teammate’s current standing position, leading them into stride so they can maintain full running momentum.
Effective distribution requires active communication and field reading. Keep your eyes on the mini-map to locate open players across the pitch. If you are under heavy pressure, call for a short pass back to your goalkeeper or defensive anchor to reset play and force the opposing team to abandon their compact defensive structure.
Core Passing Palette
- Short Ground Pass: Aim analog stick and tap Pass button for quick distribution.
- Lobbed Pass (RB/R1 + Pass): Elevates the ball over incoming slide tackles.
- Short Tap Pass (Pass + Shoot): Releases a quick, short-distance ball to a nearby teammate.
Passing Best Practices
- Pass into empty grass ahead of your teammate to keep their forward sprint alive.
- Avoid making blind 180-degree turn passes directly toward your own goal center.
Advanced Dribbling & Skill Moves: Stances, Dragbacks, and Rainbow Flicks
Once you have mastered ball distribution, adding skill moves to your offensive arsenal allows you to win 1v1 duels against skilled defenders. Entering the Dribbling Stance (holding L2/LT) shifts your character into a low center-of-gravity posture. From this stance, subtle flicks of the analog stick execute rapid side-to-side ball shifts, allowing you to quickly move the ball away from an opponent's reach.
Executing a Dragback is one of the most reliable methods to create immediate separation when pinned against the touchline. While in the Dribbling Stance, pull the analog stick backward relative to your character's facing direction. Your player will pull the ball behind them, causing an over-aggressive defender to slide right past you. Release the stance and press forward to burst into the newly created space.
Advanced flair moves like the Ronaldo Chop and Rainbow Flick should be used selectively rather than spammed continuously. The Rainbow Flick lifts the ball completely over an opponent's head, but requires immediate camera alignment to collect the ball on the opposite side without losing control. Use these moves near the opponent’s penalty area to turn a tight defensive block into a clear shooting lane.
High-Impact Skill Combinations
- Dribble Stance: Hold LT/L2 to unlock close-control trick mechanics.
- Dragback: LT/L2 + Pull Stick Backward to stop and reverse direction instantly.
- Ronaldo Chop: Press Pass + Shoot while flicking the stick left or right.
Dribbling Strategy Tips
- Do not rely on skill moves in your own penalty box where a loss of possession results in an easy goal.
- Combine a short dribble shift with an immediate pass to keep defenders guessing.
Defensive Mechanics: Jockeying, Manual Tackling, and Interceptions
Defending in Rematch is an exercise in restraint, positioning, and timing. Running blindly at the ball carrier often results in a simple skill move or pass bypassing your entire defensive line. Instead, enter the Jockey Stance by holding Left Trigger (L2/LT). Jockeying keeps your defender square to the ball, lowering your stance and matching the attacker's lateral movements while blocking passing channels.
Save your Slide Tackles (Circle/B) for guaranteed recovery situations or desperate last-ditch blocks. If a slide tackle misses its target, your character remains grounded on the turf for several seconds, leaving your team effectively down a player during an opponent counter-attack. Use standing tackles or simply body-block the attacker's path to dispossess them cleanly without risking a penalty or extended recovery animation.
Interceptions rely on anticipating passing lanes rather than chasing the ball directly. Position your defender between the ball carrier and their primary receiver, holding your ground in the center of the box. When a high ball is played, jump (Y/Triangle) to head or chest the ball out of danger before it reaches the intended target.
Defensive Controls Overview
- Jockey / Stance: Hold LT/L2 to track attackers laterally while guarding passing lanes.
- Standing Body Check: Walk directly into the attacker while jockeying to strip possession.
- Aerial Intercept: Jump (Y/Triangle) to intercept lofted passes or high wall rebounds.
Defensive Positioning Principles
- Always stay between the ball carrier and your own goal center.
- Never double-commit two defenders onto one attacker on the touchline.
Leveraging Pitch Geometry: Wall Passes, Rebounds, and Bank Shots
The perimeter wall surrounding the pitch in Rematch acts as a permanent extra player for creative teams. Rather than treating the boundaries as hazards, top players use the wall to bypass defensive pressure, execute self-passes, and set up unpredictable scoring opportunities.
When an aggressive defender marks you closely along the touchline, execute a Wall Bank Pass. Aim your pass at a sharp angle into the side wall and sprint past the defender to receive the ricochet on the other side. This simple move bypasses tight man-marking without requiring complex dribble inputs.
In the attacking third, utilizing bank shots off the back wall creates chaotic scoring scenarios that throw off goalkeeper positioning. Striking the wall intentionally high above the crossbar forces the goalkeeper to jump or dive early. As the ball rebounds off the backboard into the box, an incoming teammate can volley the loose ball into an unprotected net.
Wall Maneuvers Blueprint
- Self Bank Pass: Lob/Ground pass at an angle into the side wall to bypass a tight defender.
- Backboard Rebound: Fire a high shot above the crossbar to trigger an easy volley rebound.
- Corner Cutback: Pass hard off the corner angled wall to deliver a cross right across the goal mouth.
Wall Physics Essentials
- Steeper impact angles cause the ball to bounce back faster; shallower angles send the ball downfield.
- Add topspin or backspin to wall passes to alter how high the ball pops off the surface.
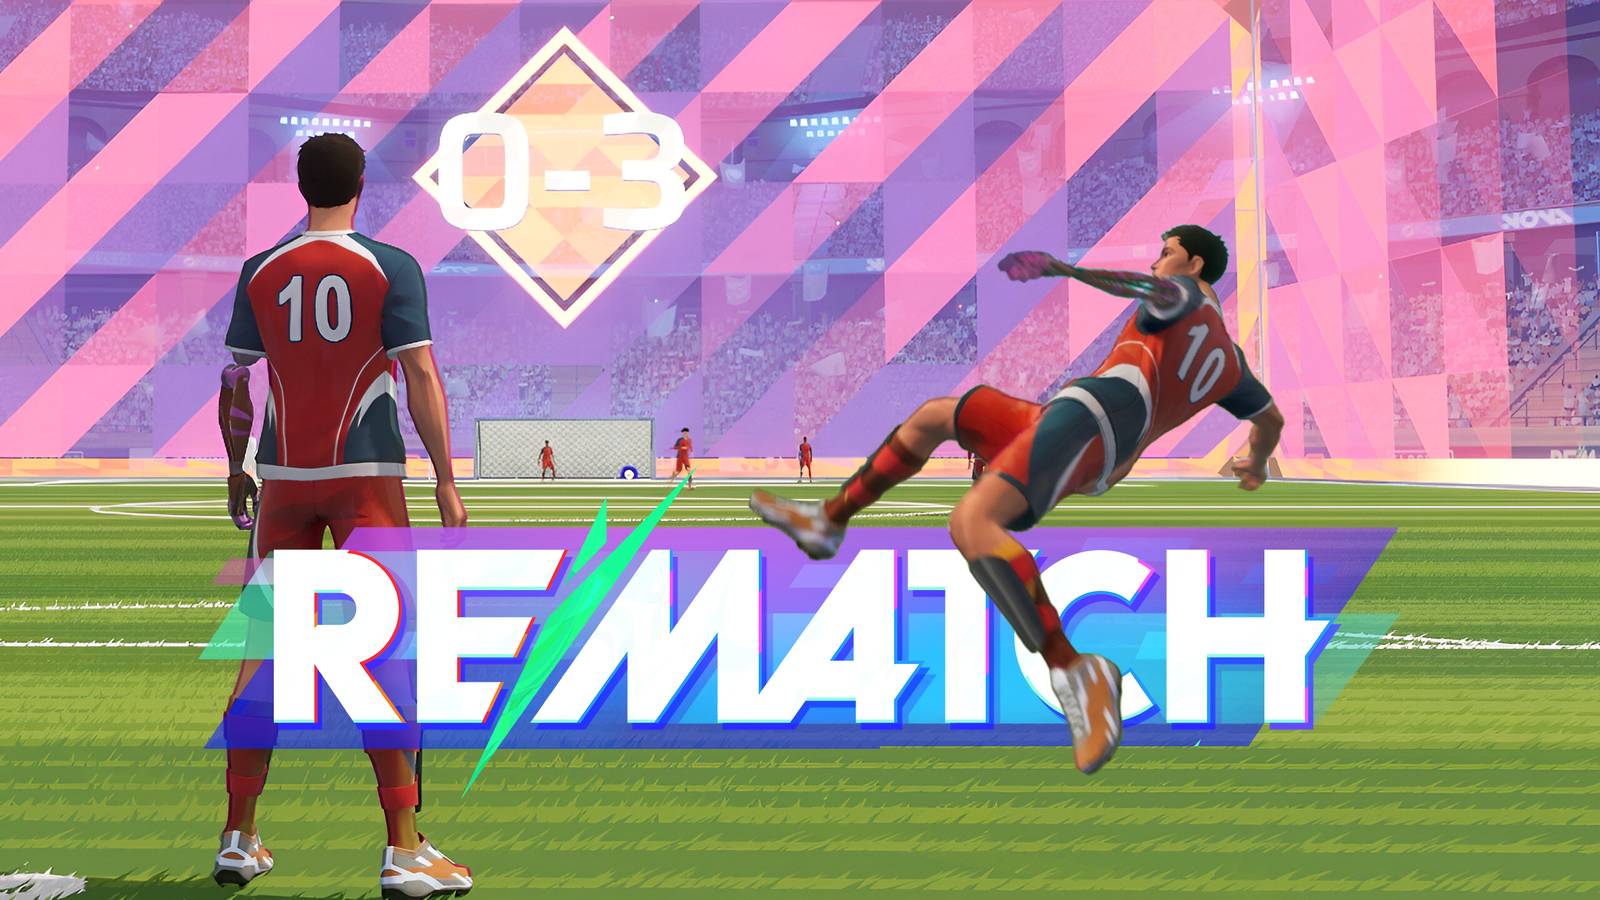
Scoring Techniques: Curved Shots, Low Corners, and Green Timing
Putting the ball in the back of the net consistently requires mastering shot placement and trajectory control. In Rematch, shots are aimed primarily where your camera crosshair is pointing rather than where your character is facing. Hold the shoot button (Right Trigger) to build shot power, then release to fire.
To bypass goalkeepers who cover direct angles well, incorporate Curved Shots. While charging your shot, move the analog stick in a circular motion to apply sidespin. Curling a shot around a defender’s leg into the far bottom corner of the net makes saves significantly harder. Low, hard shots into the bottom corners are statistically the most reliable finishing method against human keepers.
Timing your shot release right as your player strikes the ball boosts power and accuracy. Avoid taking low-percentage shots from deep mid-court unless you are intentionally setting up a back wall rebound for a teammate. Work the ball into the 18-yard area through passing combinations before unleashing your final shot.
Shot Variety Reference
- Power Shot: Charge RT/R2 to 80% power while aiming directly at an open corner.
- Curved Finesse: Hold RT/R2 while moving the thumbstick in an arc to bend the ball around keepers.
- Low Driven: Tap shot with light power while aiming low at the post bases.
Finishing Efficiency Rules
- Shoot toward the far post when approaching the goal from a sharp side angle.
- Look for open teammates in the center before taking contested shots under pressure.
Tactical Positioning: Triangular Passing, Rotations, and Fluid Roles
Unlike traditional sports simulations with fixed positions, Rematch relies on a fluid positioning system. Fixed roles like striker or defender change dynamically throughout a match based on ball movement and stamina levels. Every player must be comfortable attacking, defending, and covering the goal when necessary.
The cornerstone of elite team movement is maintaining Triangular Structures across the pitch. When three players position themselves in a dynamic triangle around the ball carrier, the player with possession always has two immediate, safe passing options. As soon as a pass is completed, all three players shift position to reform a new triangle downfield, forcing opposing defenders to constantly shift out of position.
Avoid "ball-chasing"—the common beginner mistake where multiple teammates run toward the ball simultaneously. If a teammate is pressing the ball carrier, drop back to cover their open zone or mark an opposition receiver. Maintaining spatial balance across the pitch prevents counter-attacks and ensures your team stays organized.
Positional Guidelines
- Attacking Phase: Form wide passing triangles to stretch defender coverage.
- Defensive Phase: Maintain one central anchor behind the ball to sweep loose clearances.
- Rotational Duty: Rotate into the goalkeeper role when the current keeper pushes upfield.
Spatial Awareness Rules
- Keep at least 10 to 15 meters of distance between yourself and your ball-carrying teammate.
- Never leave your penalty box completely undefended when your team loses possession.
Goalkeeping Excellence: Positioning, Sweeping, and Distribution
Playing goalkeeper in Rematch is one of the most critical and game-defining responsibilities. A great goalkeeper does not simply stand on the goal line; they actively read the field, narrow down shooting angles, and initiate dangerous counter-attacks.
When an attacker approaches 1v1, do not stay static on your line. Creep forward in your defensive stance to close down the shooting angle, making the goal frame appear much smaller to the shooter. Time your dive or jump right as the attacker releases their shot. If the opponent attempts a high backboard rebound shot, leap up to catch or punch the ball clear before an incoming forward can head it in.
After making a save, distribution must be deliberate. Rushing a throw into a crowded midfield often results in an immediate turnover and open goal. Take a second to analyze the field, look for an open teammate along the wing, or use a high lobbed pass to clear the ball safely into opposition territory.
Goalkeeper Mastery Blueprint
- Hold LT/L2 stance while advancing slowly toward approaching 1v1 attackers.
- Track high lobbed balls into the box and jump (Y/Triangle) to claim aerial dominance.
- Clear high-risk shots out toward the side walls rather than back into the central box.
- Distribute via lobbed passes to unmarked teammates on the wings to start counter-attacks.
Goalkeeper Mistakes to Avoid
- Do not dive prematurely before the shooter releases the ball.
- Avoid wandering too far past the midfield line unless a teammate has rotated back to cover the net.
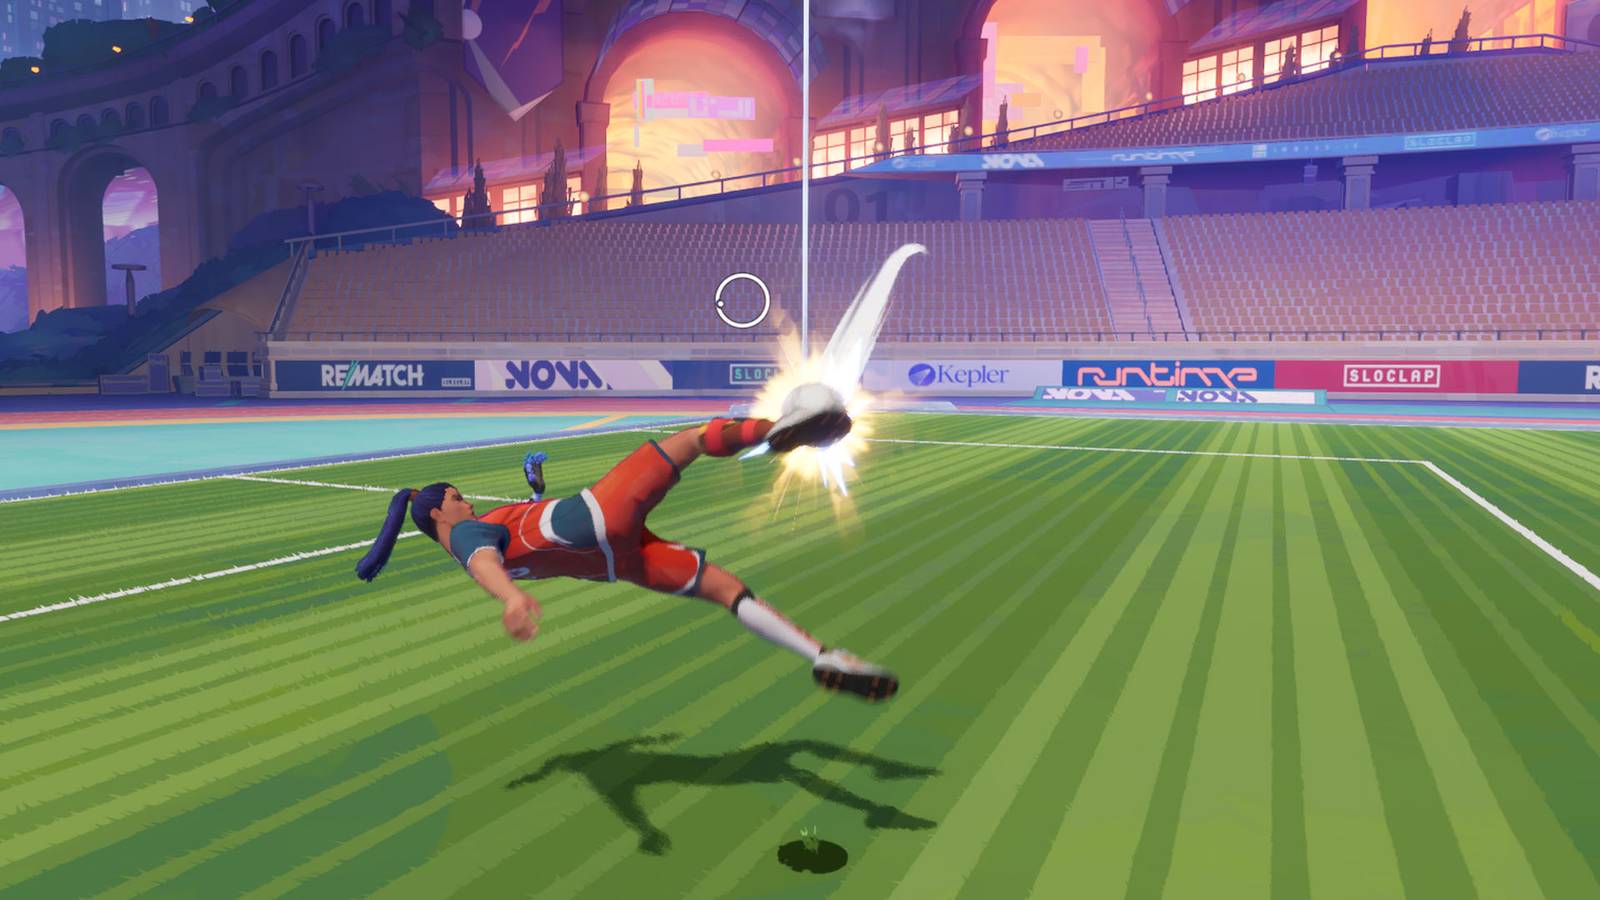
Team Communication, Morale, and End-Game Clutch Strategies
Climbing the ranks in Rematch requires strong team communication and mental discipline. Utilize voice chat or the built-in directional quick-call system to signal for passes ("Down the line," "Square it") or warn teammates of incoming pressure. Clear calls eliminate guesswork during chaotic goal-line scrambles.
Maintaining team morale is crucial for securing comebacks. Mistakes like missed shots, bad passes, or own-goals happen at every competitive level. Avoid spamming negative quick-chat commands when a teammate makes an error; instead, send supportive prompts like "We got this" or "Unlucky" to keep morale high. Teams that stay positive recover from early deficits far better than tilted squads.
In the final minute of a close match, manage the game state wisely. If holding a one-goal lead, focus on controlled possession, low-risk wall passes, and disciplined defensive shape rather than forcing dangerous low-percentage shots. If trailing, press high as a unit, utilize backboard rebound routines, and force the opposition into making errors under pressure.
End-Game Execution Checklist
- Holding a Lead: Maintain safe passing triangles and keep at least two players back defensively.
- Chasing a Goal: Execute high-wall rebound routines and apply immediate full-pitch pressing.
- Quick Chat Etiquette: Use positive reinforcement to preserve squad focus and chemistry.
Self-Improvement Habit Loop
- Review match replays to analyze your positioning during conceded goals.
- Spend 10 minutes in free-play training before every competitive session practicing wall bank angles.
Mastering Rematch is a rewarding journey that combines mechanical precision with strategic field awareness. By calibrating your controls, managing stamina, utilizing wall rebounds, and executing disciplined passing triangles, you give your team a decisive competitive edge on the pitch. Stay adaptable, support your teammates, and step onto the field ready to control every match from kick-off to the final whistle!
Master Rematch with tips on camera settings, passing triangles, wall bank passes, jockeying, and goalkeeping.