Popular Now


Introduction
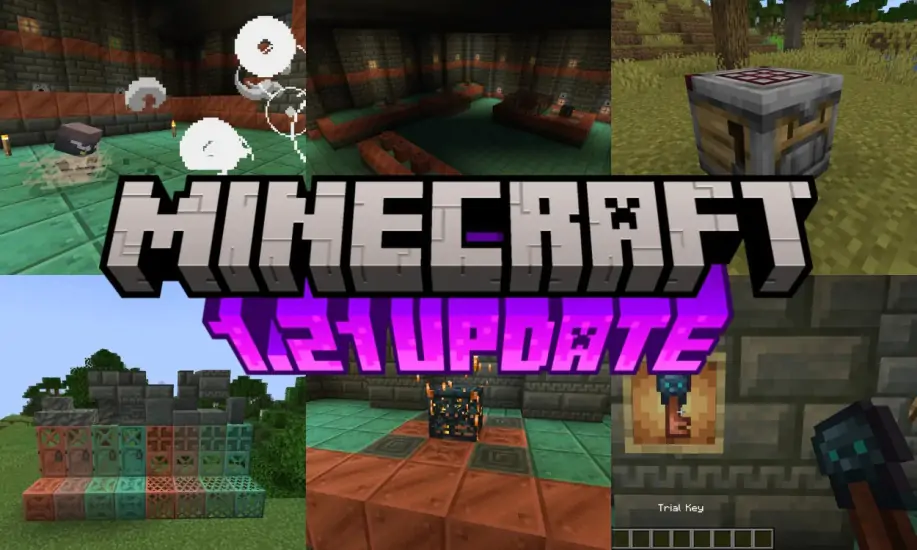
In Minecraft, building a base is more than just shelter—it’s your personal sanctuary, storage hub, defensive structure, and creative expression. Whether you play Survival or Creative, a well-designed base will enhance your gameplay experience, keep you organized, and protect you from enemies. In this guide, you'll learn how to build the perfect base from scratch, step by step, covering planning, location, defense, automation, and aesthetics.
1. Choosing the Ideal Location
The first and most important step in building your base is choosing where to place it. Your location determines safety, access to resources, and how much space you have to expand.
Great base locations include:
-
Plains (flat and spacious)
-
Near rivers (easy farming and fishing)
-
On mountains (defensive advantage and great views)
-
Underground (hidden and protected)
-
Floating islands or oceans (unique and stylish)
Consider nearby biomes for wood, animals, or rare materials. Proximity to villages, caves, and structures can also be strategic.

2. Gathering Materials and Resources
Before construction, gather the materials you’ll need. Your base design will influence what to collect, but some basics apply to all builds.
Must-have resources:
-
Wood: Logs, planks, and fences
-
Stone: Cobblestone, smooth stone, bricks
-
Glass: For windows and lighting
-
Iron: Doors, tools, hoppers, rails
-
Decoration blocks: Wool, concrete, terracotta
Try to collect more than you need. It’s frustrating to run out mid-build, especially if your resource is far away.
3. Laying Out the Foundation and Structure
Start your base by laying out the floor plan. Sketch it on paper or use temporary blocks to mark room sizes.
Tips for layout:
-
Design rooms with purpose: storage, sleeping, crafting, farming
-
Use even-numbered walls for symmetry and odd-numbered for centerpieces
-
Add multiple floors or underground sections for expansion
Use logs or stone bricks for structural pillars and corners to make the design more realistic and pleasing.
4. Creating a Functional Interior
A good base isn’t just safe—it should be easy to navigate and use. Functionality helps you save time and stay organized.
Essential rooms and features:
-
Storage room: With labeled chests or item frames
-
Crafting area: With crafting table, furnace, anvil, and smithing table
-
Bedroom: Includes bed, respawn anchor (Nether), and decorations
-
Kitchen/farm room: Indoor crops or animal pens
Keep paths between rooms clear and short. Use stairs, ladders, or elevators for vertical movement.

5. Lighting and Mob Prevention
A dark base invites creepers and zombies. Lighting is both aesthetic and essential for safety.
Lighting strategies:
-
Use torches, lanterns, and glowstone to brighten all corners
-
Place light sources on floors, walls, and ceilings
-
Use carpets or trapdoors to hide light blocks for a cleaner look
Remember to light up the area outside your base too, especially near entrances and windows.
6. Fortifying Your Base Against Mobs
Even the strongest base is useless if a creeper walks in through the front door. Defend your base properly.
Defensive features:
-
Walls and fences: Keep mobs out
-
Moats: Water or lava pits around the base
-
Iron doors and pressure plates: More secure than wooden ones
-
Traps: Use dispensers with arrows, tripwires, and pistons
For advanced players, build a perimeter with redstone alarms or villager-based golem guards.
7. Automating with Redstone and Farms
Automation makes your base smarter and more efficient. Redstone can automate doors, farms, lighting, and even sorting systems.
Basic redstone additions:
-
Auto-farms: Wheat, sugar cane, pumpkins
-
Item sorters: Chest systems that separate loot automatically
-
Secret doors: Hidden passageways with pistons
-
Auto-smelters: Furnaces that cook items continuously
Start small, then scale up as you learn redstone logic and components.
8. Expanding Underground and Above
Once your base is functional, you can expand it for looks or efficiency. Building vertically gives you more space without changing your location.
Vertical ideas:
-
Underground vault: Deep chest storage and mining access
-
Basement farms: Mushroom or dripstone farms
-
Tower lookout: For archery and mob spotting
-
Sky garden: Aesthetic rooftop farm or greenhouse
Use ladders or bubble elevators to connect floors for convenience.
9. Decorating and Adding Personality
A Minecraft base should reflect your creativity. Once you’ve built the structure, take time to decorate and personalize it.
Decoration ideas:
-
Paintings, banners, flower pots, and carpets
-
Custom furniture like couches (stairs + signs)
-
Patterned flooring using wool or tiles
-
Themed rooms like libraries, kitchens, or potion labs
Color coordination, lighting, and block variety make your base feel more like home.
10. Creating Portals and Exploring Connections
Finally, link your base to the wider world. Connecting dimensions and distant places increases mobility and unlocks new gameplay.
Add these features:
-
Nether portal room: Decorate it with obsidian, nether bricks, or quartz
-
Railway or ice boat roads: Quick travel between bases or biomes
-
Maps and compasses: Keep a wall map to mark your travels
-
Waystones or beacons: For orientation and buff zones
Make your base a central hub for your world or server, connected to mines, outposts, and adventure zones.
Conclusion
Building the perfect Minecraft base is part art, part strategy. It starts with picking a great location, gathering resources, and laying down a practical structure. But it’s also about creativity—decorating, automating, and designing a space that reflects you. Whether you’re playing solo or with friends, a well-planned base becomes your stronghold, your workshop, and your home.